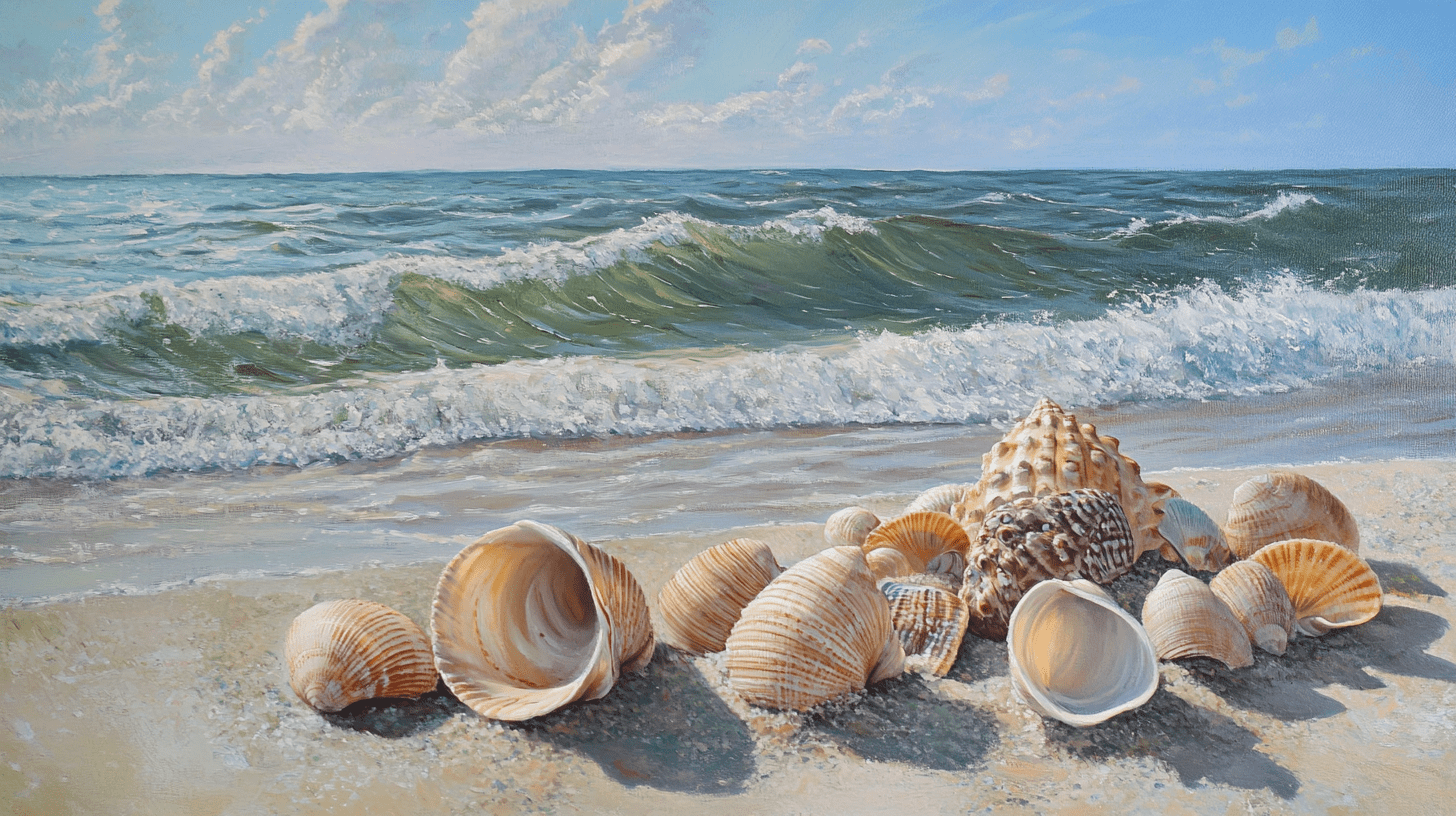
How to Clean Seashells from the Beach
To clean empty seashells from the beach, start by gently removing loose sand, then use fresh water to clean sturdy shells. A soft brush can help lift dirt from ridges. Work carefully, let the shells dry completely, and stop before cleaning starts to damage their surface. Skip vinegar: it can dissolve the shell itself.
These steps are for empty beach shells you’re preparing for display or crafts. Fragile, flaking, antique, or valuable specimens need more cautious care than a handful of sturdy beach finds.
Before collecting, check the shell and the beach rules
Look inside each shell before taking it home. Leave it where you found it if a mollusk, hermit crab, or another animal is living inside. If you can’t tell whether it’s occupied, leave it on the beach.
Check the beach or park’s official collecting rules as well as posted signs. Permission varies by location; don’t assume empty shells are always yours to take. The National Park Service advises checking individual park rules because shell collecting may be prohibited.
Gather a few simple supplies
- A shallow bowl or basin
- Fresh, room-temperature water
- A very soft toothbrush or small, soft paintbrush
- Cotton swabs
- A clean towel or soft cloth
- Mild soap, only if needed for a small area of surface grime
Work over a towel so a dropped shell has a soft landing. Handle shells individually rather than shaking them together in a bucket, and support them from underneath instead of holding a thin lip or pointed tip.
1. Remove loose sand and inspect the surface
Gently tip out any sand trapped inside. Use a soft brush to sweep loose debris from the outside without pressing hard.
Look for cracks, flaking layers, or a powdery surface before adding water. If bits of the shell come away with the dirt, stop. Set that shell aside for advice from a conservator, particularly if it’s valuable or irreplaceable.
2. Clean sturdy shells with fresh water
For an intact, sturdy beach shell, give it a gentle rinse in fresh, room-temperature water. Turn it so water can carry loose sand out of the opening, then drain it. If you’re working over a bowl, replace the water when it becomes sandy.
Use light brush strokes to lift loosened dirt from the ridges. Don’t force bristles into a narrow opening or scrub delicate edges. Repeat a gentle rinse if necessary rather than leaving every shell in an overnight bath.
For delicate or collectible shells, take a more restrained approach. Museum conservation guidance for shells recommends avoiding soaking and using water sparingly on suitable, nonporous surfaces.
3. Spot-clean remaining grime
If a sound, nonporous shell still has surface grime, try a cotton swab lightly dampened with water and a little mild soap. Test a small, inconspicuous spot first. Clean a small area, then use another swab dampened with plain water to remove the soap and blot dry.
Leave hard crusts and stubborn marks alone if they won’t lift with gentle cleaning. Don’t scrape them with a knife, sand them down, or scrub with baking soda paste. Removing a deposit can also remove or scratch the shell beneath it.
A shell doesn’t have to be spotless to make a lovely keepsake. Worn patches and uneven coloring may be part of its appearance rather than dirt you can wash away.
Why vinegar and bleach aren’t part of this routine
Vinegar attacks the shell, not just the dirt
Seashells contain calcium carbonate, which reacts with acids. In Audubon’s seashell experiment, vinegar reacts with the shell and can leave it thinner and more fragile. Diluting vinegar doesn’t remove that risk, and rinsing afterward cannot replace shell material that has dissolved. Avoid lemon juice and other acidic cleaners, too.
Bleach requires more care than a universal recipe allows
Some shell collectors use bleach for particular cleaning tasks, but that doesn’t make one dilution and soaking time suitable for every shell. For ordinary decorative beach finds, start with the gentle method above. If a shell needs more treatment, seek advice based on its type and condition before trying a chemical bath.
Never mix bleach with vinegar or other cleaning products. The CDC warns that mixing bleach with other cleaners can release dangerous vapors. Don’t add another cleaner to a bleach bath to make it stronger.
What if a shell still smells?
A lingering rotten odor can indicate organic material trapped inside, especially in a spiral shell. Check the opening in good light. Cleaning the outside won’t necessarily remove material deeper within it.
If the odor remains after gentle cleaning and drying, keep the shell out of your display and ask a knowledgeable shell specialist about that particular specimen. Don’t cover the smell with scented oil or seal it under varnish. For an ordinary craft shell, setting it aside may be more practical than attempting to clean inaccessible remains.
Dry completely before displaying or crafting
Blot away surface water and set each shell on a clean towel in a shaded, well-ventilated place. Position openings so trapped water can drain. Turn the shells as needed and replace a damp towel with a dry one.
Allow the inside as well as the outside to dry before putting shells in a closed container or attaching them to a craft project. Drying time depends on the shell’s shape and the room conditions, so don’t rely on a single time limit.
You can leave clean shells uncoated. Oil gives a different surface finish; it isn’t necessary for cleaning or preservation. If you want to preserve the shell’s natural appearance, skip baby oil, mineral oil, and clear coatings.
Keep your shells looking their best
Display shells away from direct sunlight and heaters, and dust them gently with a soft, dry brush. Give thin shells and pointed specimens enough space that they don’t knock against one another.
For a beach-trip collection, tuck a small note with the beach name and collection date alongside the shells. It keeps the memory attached to the keepsake without needing to write on the shell itself.

Related Posts:
 Sunshine in a Jar: DIY Beach Sand Foot Scrub
 15 Beach-Inspired Essential Oil Blends That Smell…
 Introducing the 30-Day Squeaky Clean Challenge
- Daily Household List - Squeaky Clean Challenge Day One
- Living & Family Room - Squeaky Clean Challenge Day Two
- Junk Day Cleaning - Squeaky Clean Challenge Day Three
- Home Office Cleaning - Squeaky Clean Challenge Day Four
- Basement Cleaning - Squeaky Clean Challenge Day Five