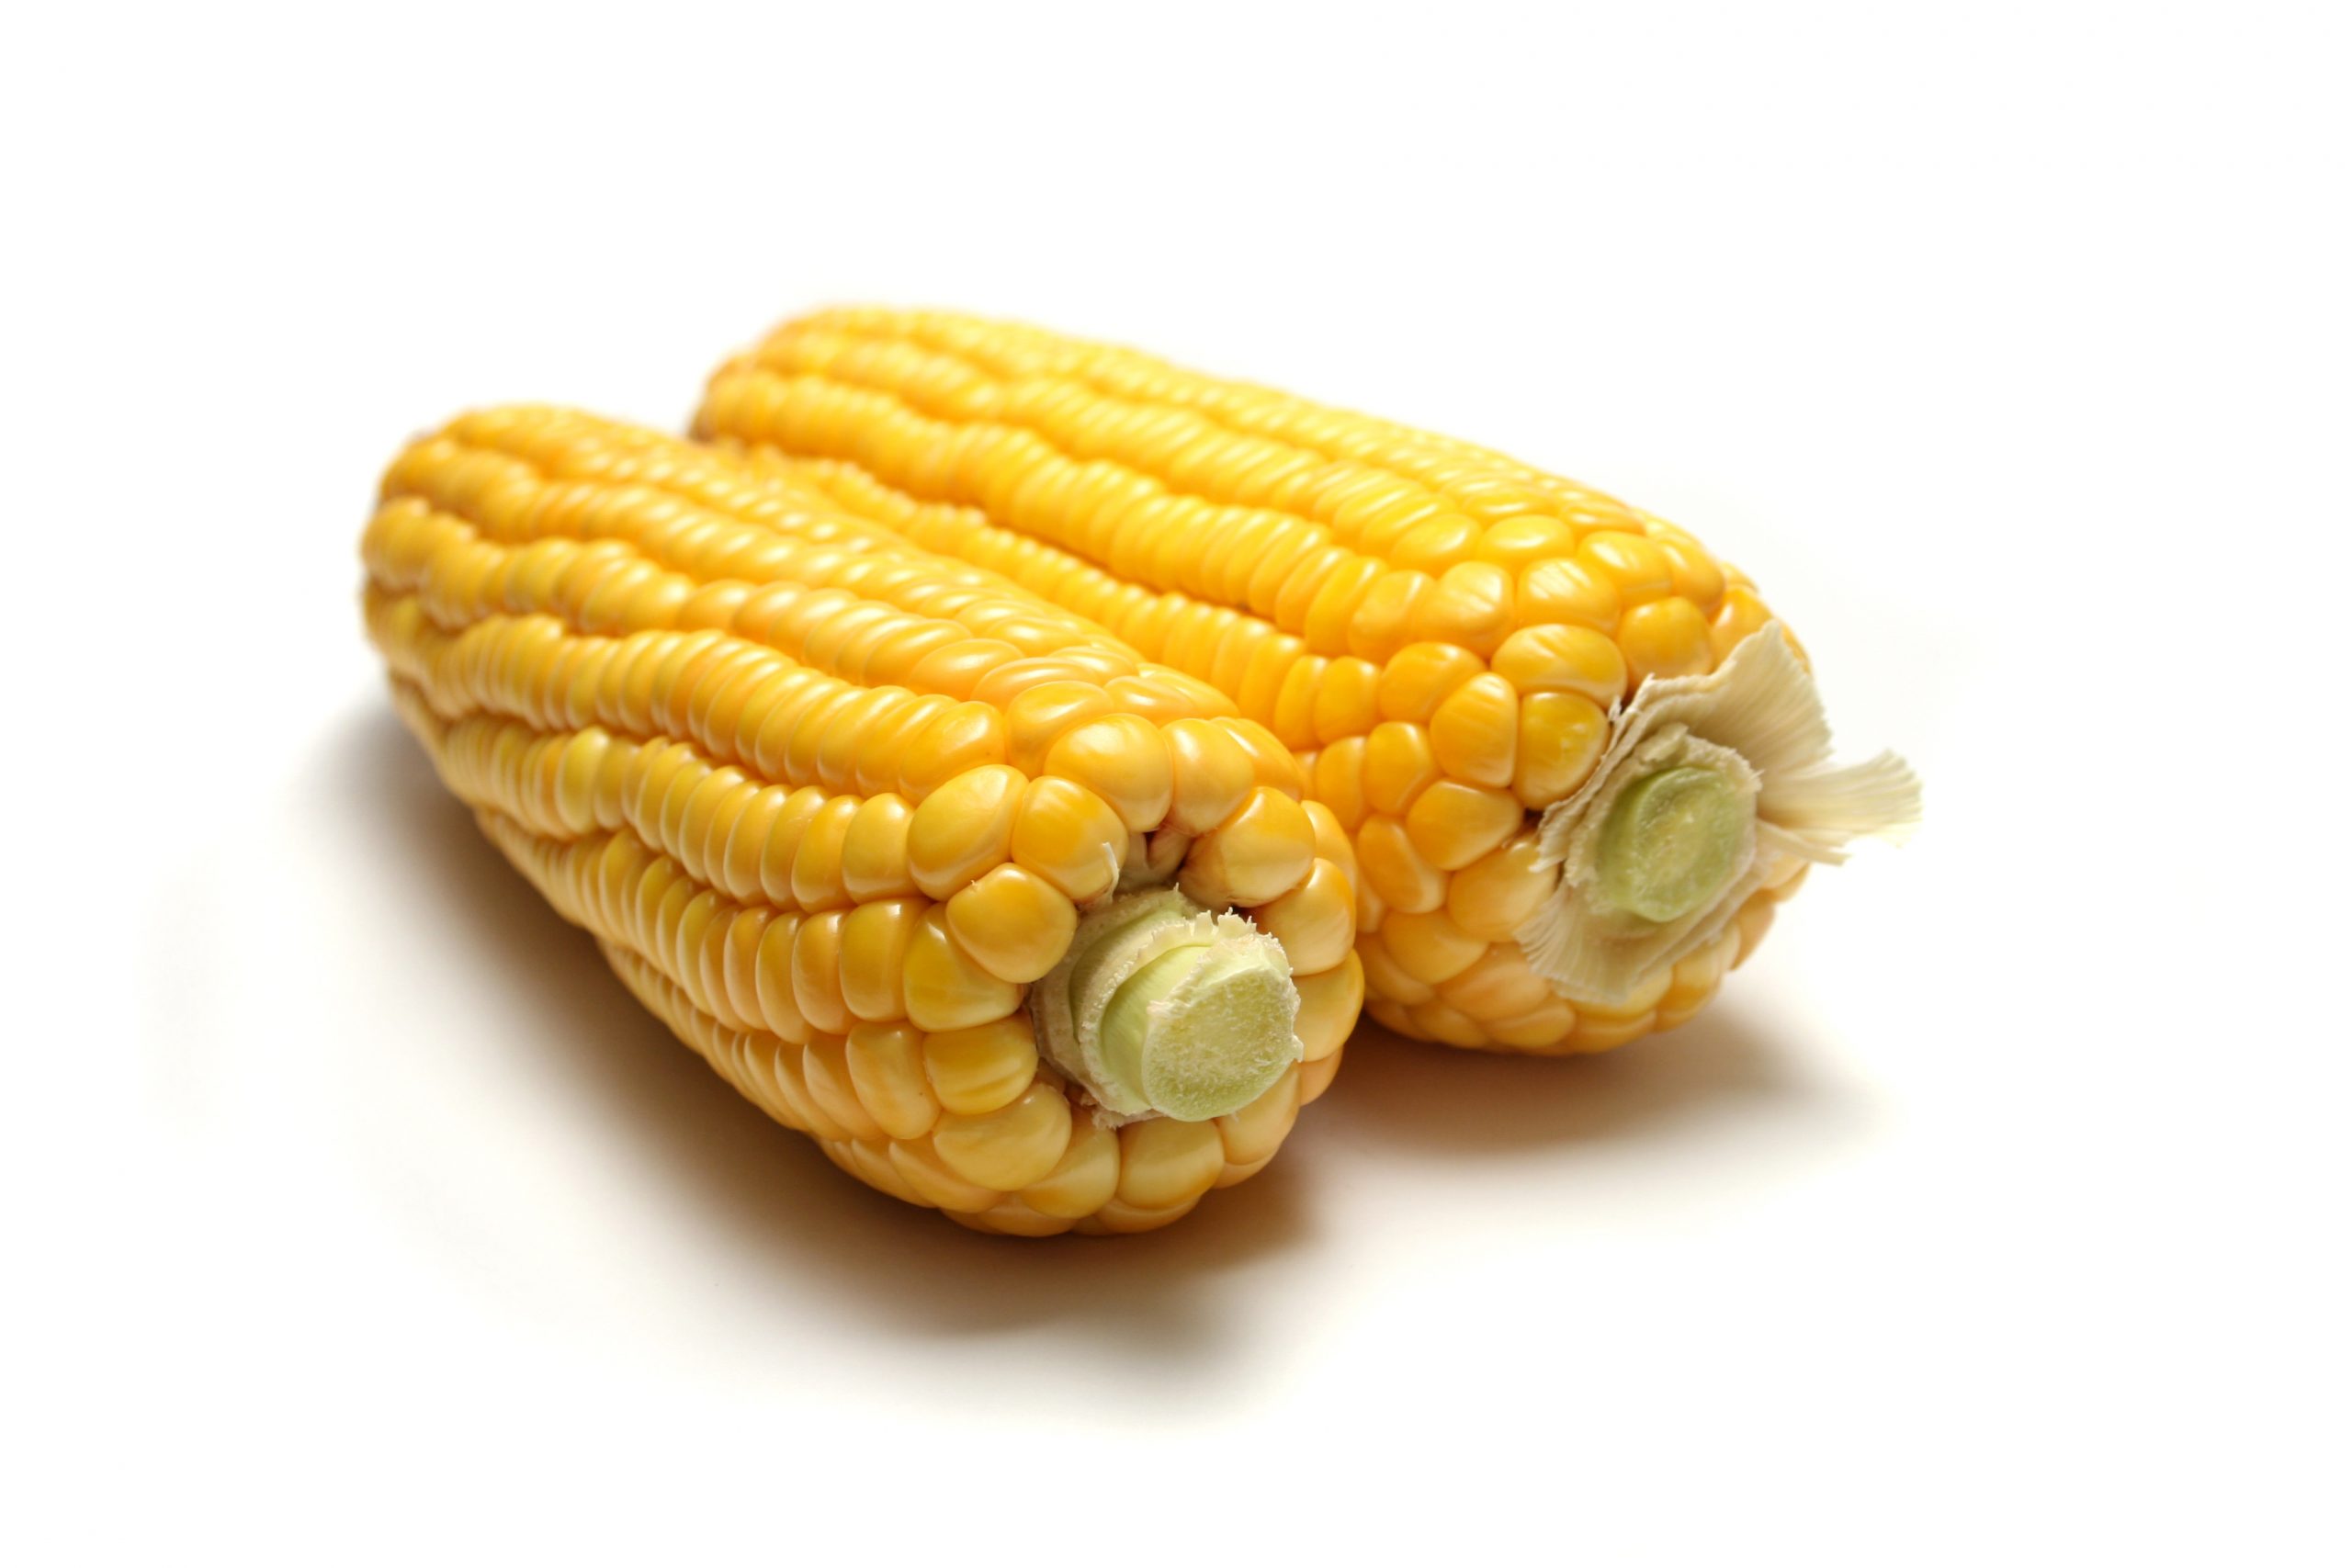
How to Freeze Corn on the Cob

Sweet Summer Corn All Year Round: Freezing Corn on the Cob
Ah, the sweet taste of summer corn on the cob – it’s like a burst of sunshine in every bite! But who says this delight should only be savored during the summer months? With our easy guide on how to freeze corn on the cob, you can enjoy this summertime favorite all year round, bringing a little warmth to even the chilliest winter evenings. Imagine the joy of biting into a cob of corn slathered in butter and sprinkled with salt, reminiscing about summer picnics, even when the snow is falling outside. Plus, it’s a fantastic way to ensure that the pickiest little eaters in your household can still enjoy their favorite veggie any time.
Freezing corn on the cob is not only simple but also cost-effective. By stocking up on ears of corn when they’re at their peak and prices are low, you can enjoy high-quality, delicious corn at a fraction of the cost during off-season months. Ready to get started? Let’s dive into the step-by-step process of preserving those golden kernels of joy.
Gathering Your Bounty: Choosing the Perfect Ears
- Look for ears of corn that are similar in size to ensure even blanching. Consistency is key for freezing and later cooking.
- Opt for fresh, plump kernels with a bright green husk for the best taste and texture.
Preparing Your Corn for Freezing
Cleaning and Trimming
- Husk Away: Begin by removing the husk and silk from each ear of corn. This step is all about getting down to the golden goodness.
- Stem and Tip: Break off the stem and trim the top end where the kernels are absent. You’re aiming for uniformity and removing any excess.
Blanching: The Secret to Preservation
- Sort by Size: If you couldn’t get ears of the same size, sort them into small, medium, and large categories for blanching.
- The Blanching Process: Blanch the ears in boiling water – 7 minutes for small, 9 minutes for medium, and 11 minutes for large ears. This process deactivates enzymes that could cause loss of flavor, color, and texture.
- Chill Out: Immediately after blanching, plunge the ears into cold water to halt the cooking process. This ensures your corn remains perfectly sweet and crisp.
Freezing: Locking in Freshness
- Cool and Dry: Once cooled, drain the corn thoroughly. Removing as much water as possible prevents ice crystals from forming.
- Pack It Up: Place your prepared ears of corn into freezer bags or containers. If using bags, try to remove as much air as possible to prevent freezer burn.
From Freezer to Feast: Serving Your Corn
Thawing and Reheating
- Plan Ahead: Transfer your corn from the freezer to the refrigerator the night before or early in the morning on the day you plan to serve it. This allows for a gentle thaw.
- Boil to Perfection: To reheat, simply boil the thawed corn in water for a few minutes until heated through. This method revives the corn’s natural sweetness and tender texture.
Serving Suggestions
- Butter and Season: Serve your corn hot, slathered with butter and a sprinkle of salt, or get creative with your seasonings to add an extra flavor punch.
- Mix It Up: While classic butter and salt are always winners, why not try garlic butter, parmesan, or even a sprinkle of chili powder for a twist?
Enjoy
Freezing corn on the cob is a fantastic way to extend the joy of summer’s bounty throughout the year, ensuring you always have a taste of sunshine on hand, no matter the season. It’s a simple, budget-friendly way to enjoy one of nature’s treats, bringing both nutrition and happiness to your table. So next time you’re at the market, grab some extra ears of corn and get freezing. Here’s to delicious corn on the cob at your fingertips, ready to brighten any meal with a taste of summer!
Related Posts:
 How to freeze whole corn on the cob
 A No-Blanch Freeze Guide to Corn on the Cob
 The Ultimate Guide to Perfect Corn on the Cob
- How to butter corn on the cob without the mess
 Sunshine in a Bite: Corn on the Cob Slow Cooker Extravaganza
- Microwave Corn on the Cob Recipe
- How much corn is on a single ear of corn?
 DIY Dried Corn Decor: A Thanksgiving Masterpiece