How to Make Fabric Waterproof
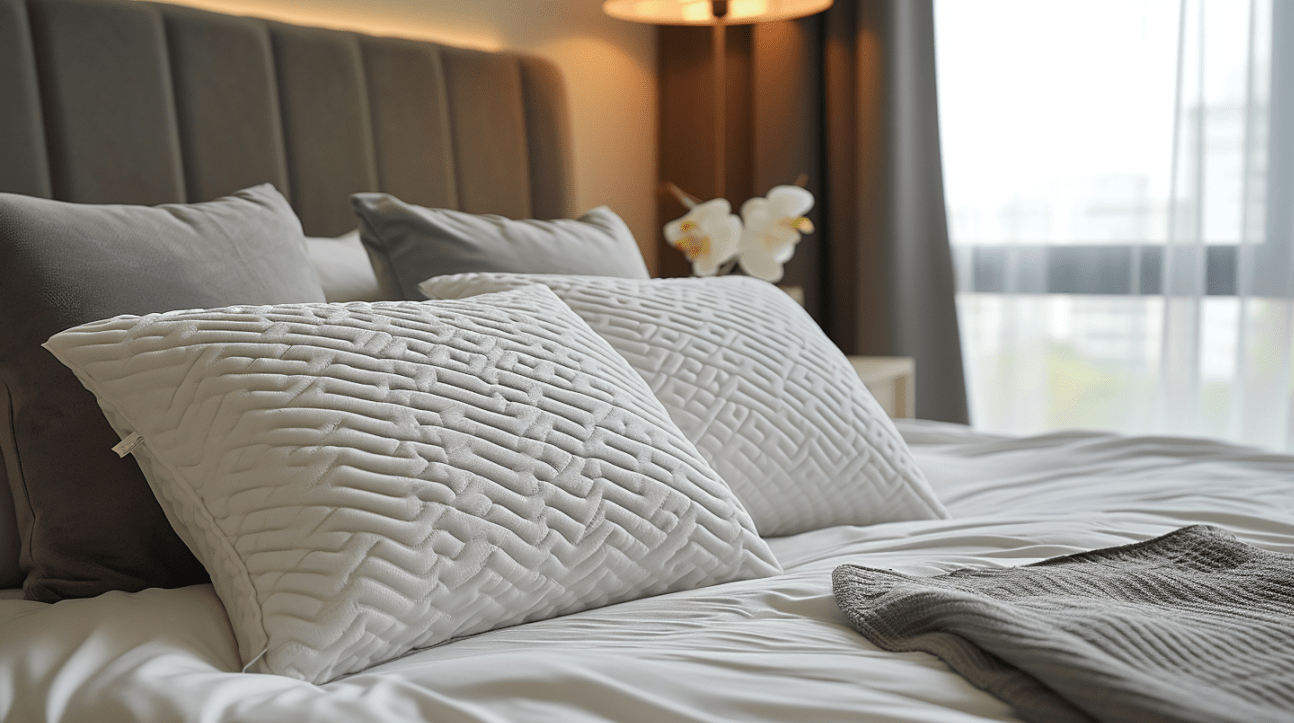
Hello, DIY enthusiasts and outdoor lovers! Are you ready to transform your favorite fabrics into durable, weather-resistant marvels? Whether it’s cozy pillows for your garden bench, a cherished cushion for your patio chair, or that vibrant umbrella that just needs a little extra protection, we’ve got you covered—literally!
Waterproofing fabric is not only a smart move to extend the life of your outdoor décor but also a fun, easy project that can save you money and add a personal touch to your outdoor space. So, let’s dive into this splash-proof adventure and turn your fabrics into champions of moisture resistance!
Assembling Your Waterproofing Arsenal
What You’ll Need: Your journey begins with gathering the essentials. Grab that pillow, cushion, or umbrella yearning for a waterproof makeover. Next, arm yourself with a waterproof spray; we love Thompson’s Water Seal Fabric Seal for its effectiveness and ease of use.
Why Waterproof?: Before we unleash the power of waterproofing, let’s talk about why it’s a game-changer. Testing your fabric’s current resistance to water can be eye-opening. A simple drop test will reveal if water beads up and rolls off or if it’s absorbed, darkening and dampening your fabric. If it’s the latter, you’re in the right place and need to waterproof that fabric.
Preparing for the Transformation
Setting the Stage: Find a well-ventilated area and lay out a piece of cardboard larger than your fabric item. This prep step is crucial to protect surrounding surfaces from overspray and ensure a clean, even application.
The Waterproofing Process
Step-by-Step to Splash-Proof Success:
- First Coat Application: Position the spray can 6″ to 8″ away from the fabric surface. Begin spraying in a steady, sweeping motion, slightly overlapping each pass to cover the fabric evenly. Remember, the goal is coverage, not saturation—keep it light and even.
- Drying Time: Patience is key! After applying the first coat, allow about four hours of drying time. This ensures the spray penetrates and sets properly, creating a strong waterproof barrier.
- Second Coat for Superior Protection: For unbeatable moisture defense, apply a second coat following the same method as the first. This reinforces the waterproof layer, ensuring maximum durability against the elements.
The Moment of Truth: Testing Your Work
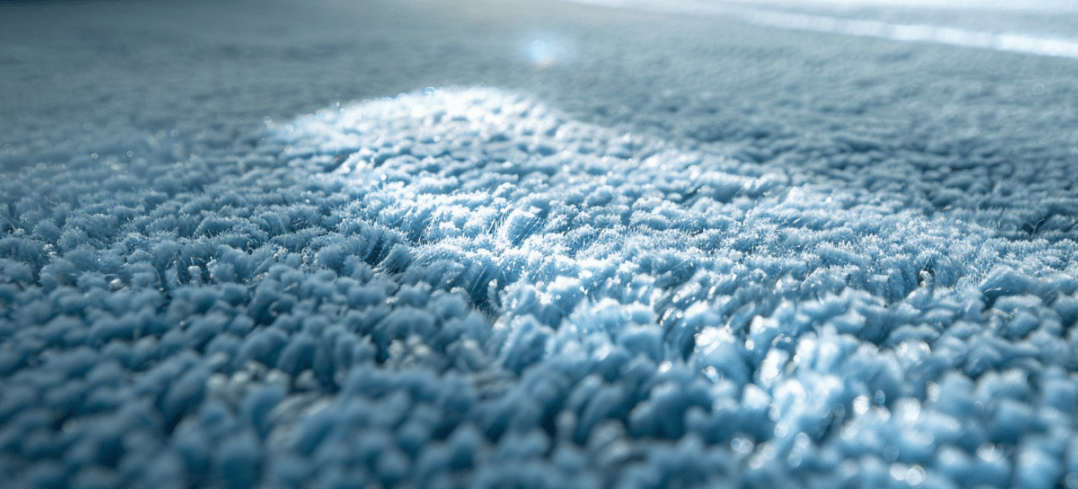
After another four-hour drying period, it’s time to test your masterpiece. Sprinkle some water on your newly waterproofed fabric and watch as it beads up, refusing to soak in. This magical moment is what DIY dreams are made of—your fabric is now fully equipped to face rain showers without fear!
Embrace the Joy of DIY Waterproofing
Congratulations! You’ve successfully turned ordinary fabrics into water-repelling wonders. This simple yet transformative project not only saves your outdoor décor from the perils of unpredictable weather but also empowers you to customize and protect your space in a fun, cost-effective way.
A Splash-Proof Send-Off
As we wrap up this waterproofing journey, remember that the world of DIY offers endless possibilities to enhance, protect, and personalize your living spaces. Armed with your new knowledge and skills, you’re ready to tackle any project that comes your way, rain or shine.
So, here’s to you, the newly minted waterproofing wizard—may your fabrics always repel the rain, your cushions stay cozy and dry, and your outdoor adventures be many and marvelous. Until our next DIY endeavor, keep crafting, keep protecting, and, most importantly, keep enjoying your beautiful, weather-ready creations!
Related Posts:
 Make your own waterproof makeup remover
 Smart Savings on Laundry Day: Fabric Softener Sheet Hacks
 Transforming Rental Spaces: A Guide to Fabric Wall Decor
 Transform Your Cabinets with Chic Fabric Doors: A DIY Guide
 Homemade Fabric Freshener: Recipe and Favorite Scents
 How to make yogurt covered pretzels
 Make your own Appletini Bath Salts
 Make your own herbal and fancy salt mixes or gifts