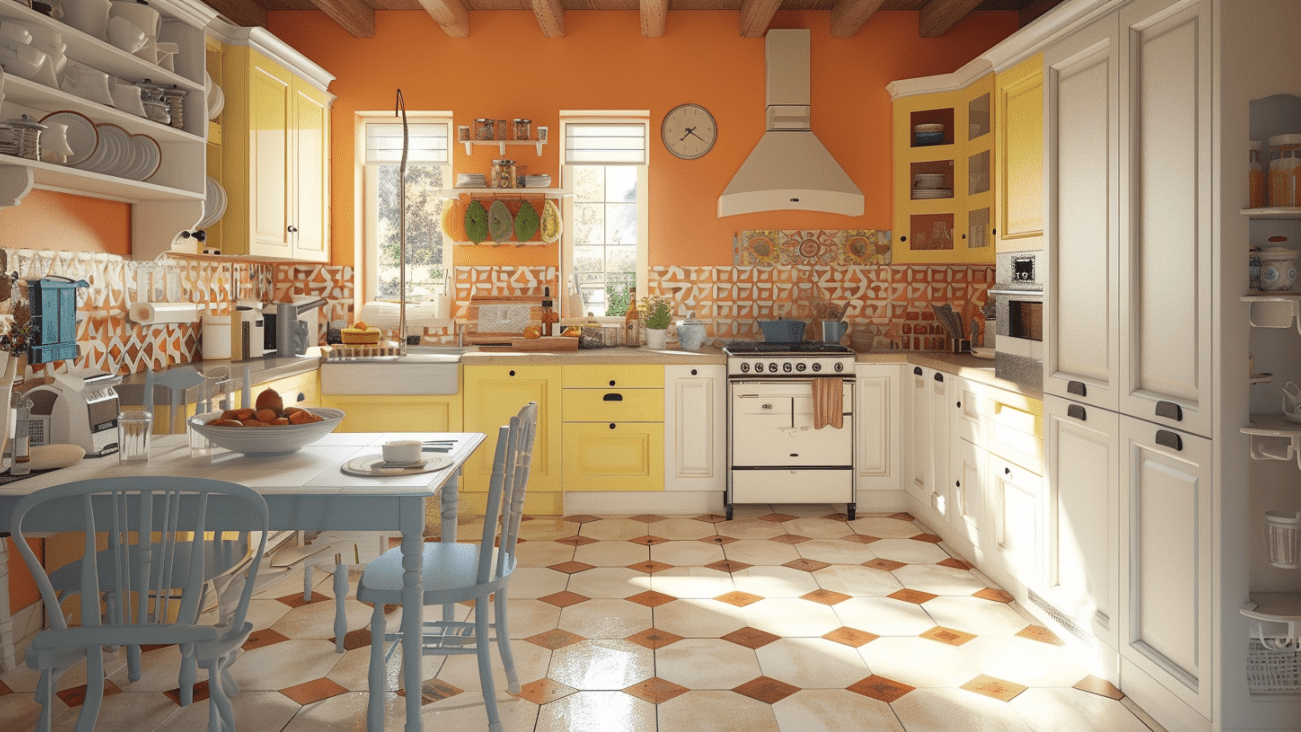
Transforming Your Kitchen with a DIY Tiled Backsplash
Transforming Your Kitchen with a DIY Tiled Backsplash
Welcome to the exciting world of DIY home improvement, where a little effort and creativity can transform your kitchen from ordinary to extraordinary! Today, we’re diving into the project of tiling a kitchen backsplash, a fantastic way to update your kitchen’s look, add personality, and increase your home’s value. Whether you’re a seasoned DIY enthusiast or a first-timer ready to take on a new challenge, this guide will walk you through every step of the process, from selecting your materials to the final touches.
So, roll up your sleeves and let’s turn your kitchen backsplash vision into a stunning reality!
Kitchen Backsplash Tiling
Tiling a kitchen backsplash is not just an aesthetic upgrade; it’s a practical investment in your kitchen’s functionality and durability. A well-tiled backsplash protects your walls from spills and splatters, makes cleaning a breeze, and can serve as a focal point of your kitchen’s design.
With a variety of tile options available and the right tools in hand, customizing your kitchen backsplash can be both enjoyable and rewarding.
Supply List: Everything You Need to Get Started
Before we dive into the tiling process, let’s ensure you have all the necessary supplies. Here’s what you’ll need:
- Tiles of your choice
- Bullnose tiles for edging (for a polished look)
- Tile spacers (to ensure even gaps between tiles)
- Tile adhesive (for securing tiles in place)
- Premixed grout (to fill in the gaps between tiles)
- Grout sealer (to protect the grout from moisture and stains)
- Notched trowel (for applying adhesive)
- Caulk and caulking gun (for sealing edges)
- Level (to ensure your tiles are straight)
- Tape measure (for precise measurements)
- Pencil (for marking your layout)
Step-by-Step Guide to Tiling Your Backsplash
Planning Your Design
Measuring and Layout
Start by measuring the width and height of the area you want to tile. Decide if you want the backsplash to span the entire length of the wall or just cover specific areas, like above the sink. Standard backsplash height is about 18 inches, but feel free to adjust based on your kitchen’s layout and design preferences.
Choosing Your Tiles
Select tiles that complement your kitchen’s aesthetic and meet practical needs, such as moisture resistance. Consider tile size carefully to minimize cutting, and remember to account for a 1/4-inch space around each tile for grout.
Preparing the Area
Setting Up
Clear the workspace and ensure the wall is clean, dry, and smooth. Lay out your tiles on the counter or floor to finalize your design and identify any tiles with imperfections.
Installing the Tiles
Applying Adhesive
Using the notched trowel, apply tile adhesive to the wall, starting from the bottom up. Press the tiles firmly into the adhesive, using spacers between each tile to maintain even gaps.
Edging and Cutting
When you reach the top or need to navigate around outlets, use bullnose tiles for a clean edge or cut tiles to fit as necessary.
Finishing Touches
Grouting and Sealing
Once the adhesive is dry (typically overnight), remove the spacers and apply grout between the tiles using a grout float. After the grout has set, apply grout sealer to protect against moisture and ease cleaning.
Additional Tips and Suggestions
- Grout Color Choices: While traditional gray is timeless, consider colored grouts to add contrast or complement your tiles.
- Dry Layout: Before applying adhesive, lay out your tile pattern on the wall with painter’s tape to visualize the end result.
- Adhesive Drying Time: Follow the manufacturer’s instructions for drying times to ensure the best adhesion before grouting.
- Maintenance: Regularly clean your backsplash with mild soap and water, and reapply grout sealer as recommended to keep it looking fresh.
Enjoy Your Kitchen’s New Look
Congratulations! You’ve successfully tackled the project of tiling your kitchen backsplash. This DIY upgrade not only enhances the beauty and value of your kitchen but also reflects your personal style and craftsmanship. As you admire your handiwork, remember that the most rewarding home improvements are those you do yourself.
So, enjoy your kitchen’s transformed look, and feel proud of the effort and creativity you’ve poured into making your space uniquely yours. Happy DIY-ing!
Related Posts:
 The Magic of the Produce Brush: Transforming Your…
 Transforming Your Bathtub from Grimy to Glorious:…
 Beauty Hack: Transforming Broken Makeup into Cream Wonders
 Transforming Rental Spaces: A Guide to Fabric Wall Decor
 Transforming Business Trips into Memorable Family Vacations
 DIY Fruit Dip Mix: A Sweet Addition to Your Kitchen!
 DIY Kitchen Hack: Homemade Non-Stick Cooking Spray
 Spice Up Your Kitchen: Toasting Chili Peppers & Pods